
This has been copied and pasted from my original 08 tutorial. Notes I made today will be in parenthesis and in italics.
Tutorial:
Okay, so I promised this a while ago and just got around to it today. I couldn't find any fabric I wanted at first and I've been busy getting ready to head off to college next month. I've never written a tutorial for anyone before, so please ask me questions if I've worded something oddly or something doesn't make sense.
Materials:
1 yard (possibly more depending on your size) stretchy knit fabric (I like the kinds in the dancewear section.) (I wear around a size 6, if that gives you any idea. If you can wrap the fabric around you like a skirt and have a good amount left over on the sides, you're probably good.)
Matching thread
A pair of leggings or skinny jeans that fit you
Tutorial Notes:
Because we are using a stretchy fabric, I am using a stretch stitch on my machine. A serger would also work. I also sewed over each seam twice because they will be stretched so much and I wanted to add strength. If you aren't very experienced with sewing this kind of fabric, then please practice on some of your extra scraps left over from the pattern to get your settings right on your machine before risking ruining your leggings. (I've also heard of people doing a couple of rows of zig-zag stitches instead)
The process:
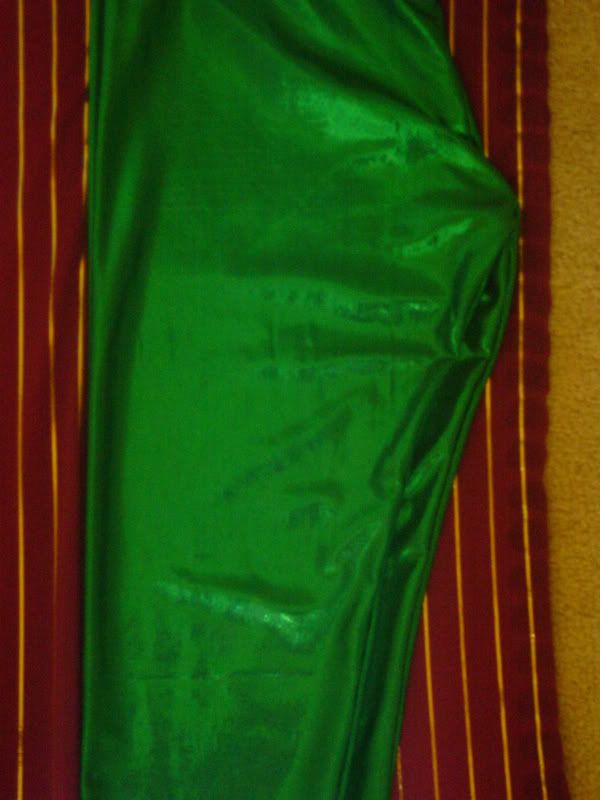
Lay out your fabric. Fold your leggings/jeans in half and lay out as seen in picture (except neater, I kind of just threw it down for the picture). Trace along the top, down the curvy side (the side with the crotch) and across the bottom, remembering to figure in seam allowances. Note: You may want to add more length to the bottom and/or top, just depending on what you're using to trace. (I made these leggings when I was 18 and didn't...um... have much in the booty department, so it didn't matter that the front was the same as the back. Since then I've been lifting weights and am a bit more well endowed in that area, I'd need to accommodate that by making the curved part more "shallow" on one side of each leg. I will link to a YouTube video at the end of this that shows what I mean.)
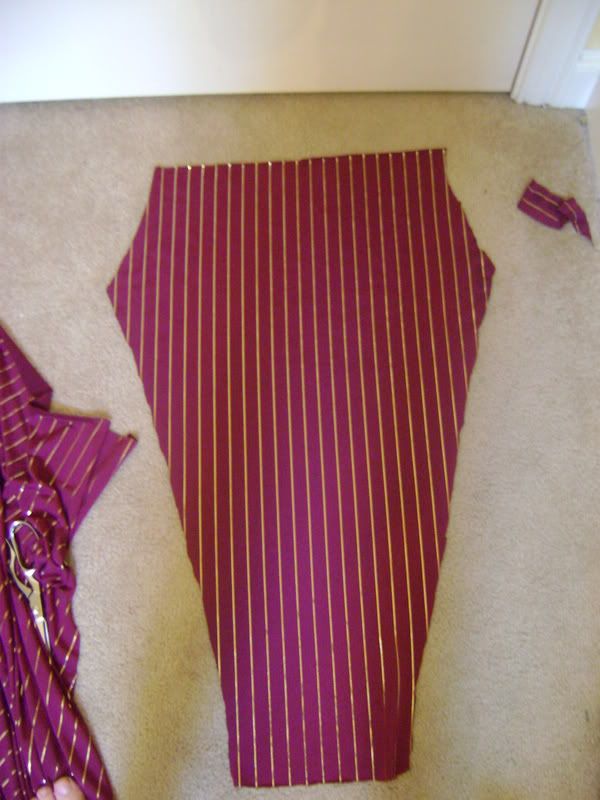
Now, flip your pants (still folded) over so that they are a reflection of what you've already traced. Trace the top, curvy side, and bottom again, so that you end up with the shape pictured above. Cut out. Make a second one just like it.
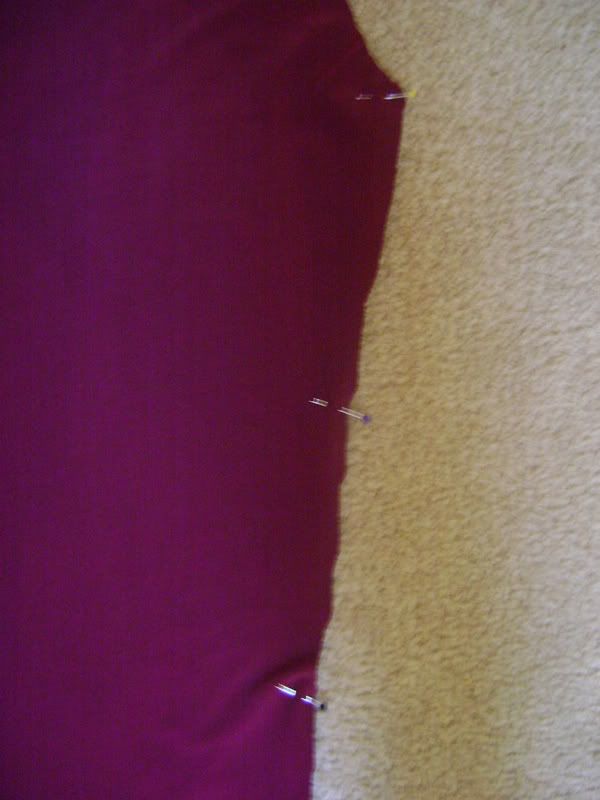
Now, pin each leg right sides together and sew down from the bottom of the crotch to the bottom of the leggings on each leg.
I forgot to take a picture of this step, but you pin the curved edges of each leg right sides together. When you sew this, you should be sewing from the front of the leggings down to the crotch and up the back all in one U-shaped seam.
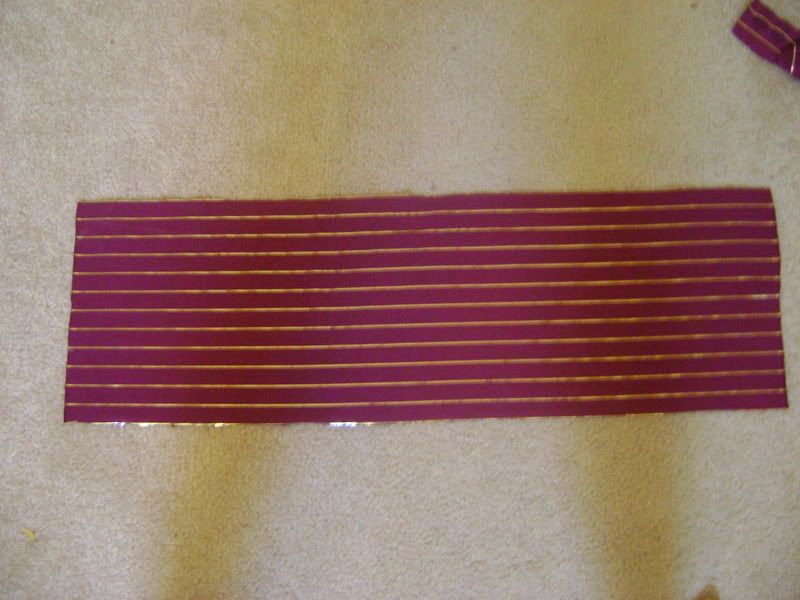
Measure the circumference of your leggings and subtract an inch. Cut a rectangle with a length of the measurement you just figured out and a width double the length you would like your waistband to be (You may want to go ahead and try on your leggings to figure out how long you think it will need to be). For mine I cut a rectangle with a width of 9 inches including seam allowance, so after it's sewn on I will have a waistband of about 4 inches.
Sew your rectangle closed with the two shorter ends right sides together so that you now have a circle.
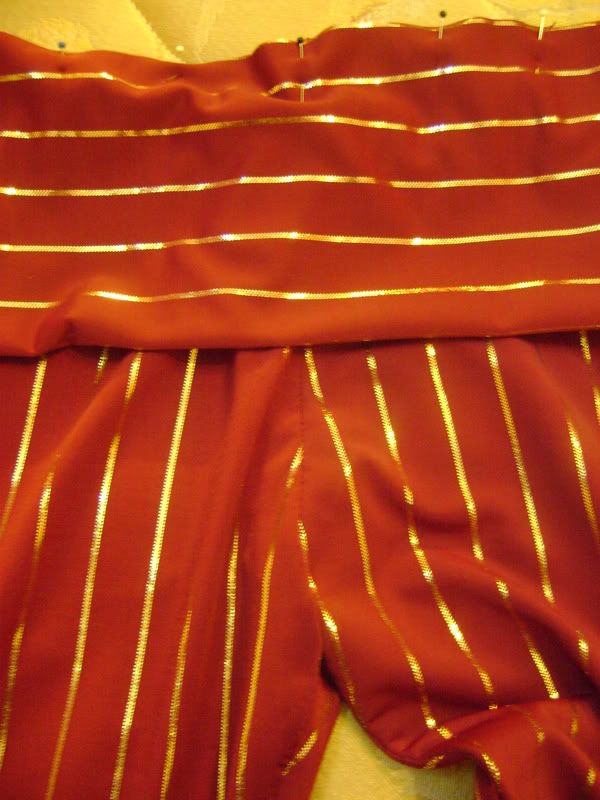
Fold your waistband in half widthwise wrong sides together. Take your leggings so that they are right sides out and pin the waistband evenly around the top. You will have to stretch the waistband a bit to get it around all of the way. Sew the waistband on, keeping the waistband material gently pulled flat while sewing.
Try on your leggings to make sure everything fits right. Depending on what you traced to get your initial shape, you may have to take the legs in a bit to make them tight, but once you get this pair made right you can use them as a guide for future pairs.
Hem the bottom. (Use a zig-zag stitch here... if you made your leggings too fitted at the ankle then you won't be able to stretch them enough to put your foot in if the hem isn't very stretchy.
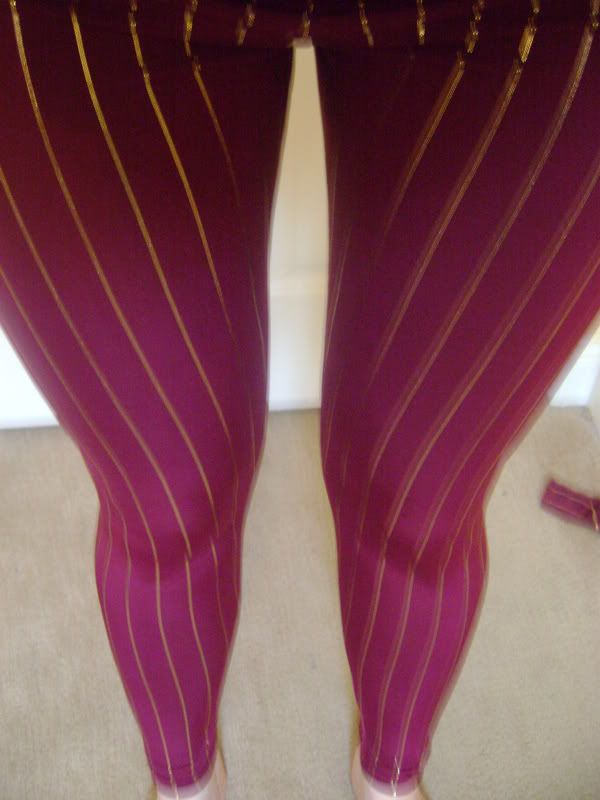
Try and fail at taking a picture of yourself wearing your new awesome leggings!
End tutorial.
Here is a link to the YouTube video I mentioned above. It also shows you how to have an elastic waistband if you'd prefer that. Link
I lost that pair of leggings a couple of years ago. Mom, if you find them, I'd like them please.
Tomorrow I will have pictures of the finished table. I'm so excited about it! I'm going to end this post here, because Othello is determined to fall asleep on my laptop and keeps getting angry by my typing.
--Laura